
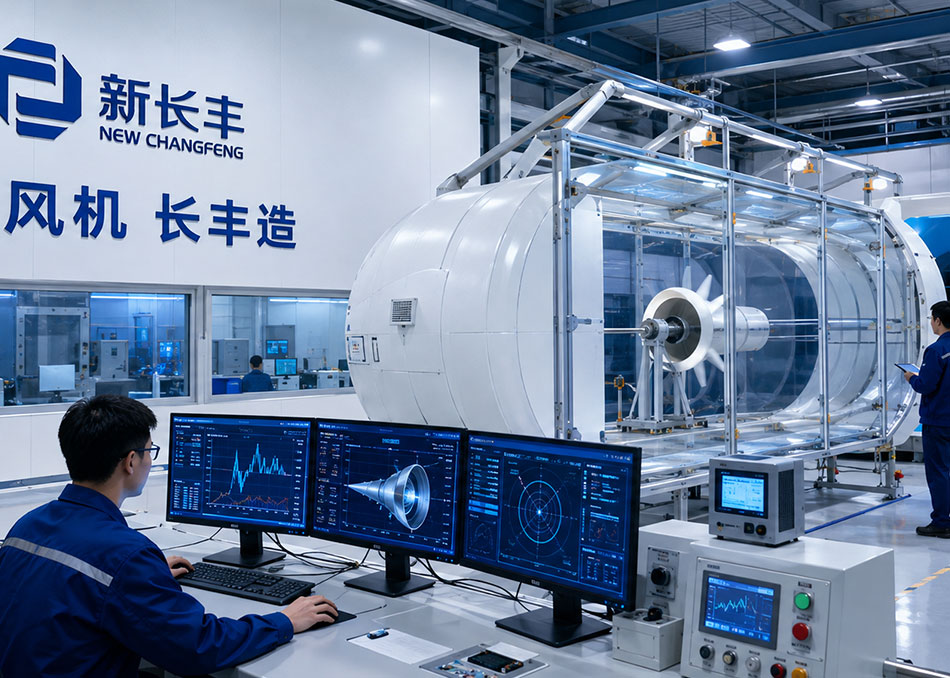
Walk through almost any industrial ventilation retrofit and you'll find negative pressure fans on the equipment list. Yet acceptance day often tells a different story: the fans themselves check out fine, but the workshop still has hot pockets, exhaust that feels weak, airflow that seems to vanish before it reaches the far end of the floor, or louver blades that rattle and noise that carries into neighboring areas. In most of these cases the root cause isn't the fan — it's where the fan was installed.
Negative pressure ventilation is a whole-system airflow strategy: exhaust fans push air out, indoor pressure drops slightly below outdoor pressure, and fresh air is drawn in through doors, windows, and purpose-built inlets on the opposite side. Air always travels the path of least resistance from inlet to work zone to exhaust point. That means fan placement effectively decides which parts of the workshop get ventilated and which become dead zones. This article explains the principles behind airflow organization and translates them into practical placement guidance for workshop ventilation and cooling.
Start With the Principle: Placement Determines Airflow Direction
A negative pressure fan is mounted in a wall opening or window frame. When it runs, it forces indoor air outdoors, creating a slight negative pressure inside. Outdoor air then refills the space naturally through openings on the opposite side. Because air follows the inlet–work zone–exhaust path, the fan's location defines which areas the air actually crosses and where stagnation forms.
The logic behind standards such as GB 50019 (Code for Design of Heating, Ventilation and Air Conditioning of Industrial Buildings) is straightforward: ventilation design should prioritize airflow coverage over the working zone and avoid short-circuiting and contaminant spread. If a fan sits too close to its inlet, incoming air is exhausted almost immediately — a short circuit — and the deeper parts of the workshop never get refreshed. If every fan is crowded onto one wall, the far side becomes a retention zone. Placement is therefore not a matter of "finding a spare spot on the wall" but of designing the airflow path.
Before choosing a location, map three things: where fresh air can enter, where heat and fumes are generated, and where people actually work. The fan should sit at the end of that path, not in the middle of it.
Where to Mount Negative Pressure Fans for Workshop Ventilation
Exhaust on the downwind side, inlets on the windward side. In most climates, placing exhaust fans on the leeward wall and relying on windward doors and windows as inlets lets prevailing wind assist the system. Where prevailing wind is weak or seasonal, mechanical inlets or additional operable openings keep the pressure balance stable.
Exhaust high, inlet low. Hot air stratifies near the roof, so mounting fans high on the wall captures the hottest air first. Inlets positioned lower — near floor level or at working height — bring cooler replacement air through the occupied zone. This vertical arrangement is one of the most effective ways to combine ventilation with heat removal.
Locate fans at heat and contaminant sources. For workshops with furnaces, welding stations, or process heat, the exhaust point should be near the source so hot air and fumes are captured before they spread. This is consistent with the source-capture principle in GB 51251 for smoke and heat exhaust and in general industrial ventilation practice.
Keep the airflow path unobstructed. Racks, partitions, and equipment placed between inlet and exhaust break up the airflow. Where the layout can't be changed, use multiple smaller fans distributed along the wall rather than one large unit, so each zone gets its own path.
Avoid short circuits and corner dead zones. Maintain meaningful separation between inlets and exhaust fans — ideally on opposite walls. Fans jammed into corners tend to recirculate air locally and leave the center of the floor stagnant.
- Place exhaust fans on the leeward side; use windward openings as inlets.
- Mount fans high to remove stratified heat; bring inlet air in low.
- Position exhaust near heat sources and fume-generating processes.
- Distribute multiple fans rather than clustering them on one wall.
- Keep the inlet-to-exhaust path clear of racks and partitions.
- Verify the effective opening area of inlets — undersized inlets throttle airflow and raise noise.
Common Placement Mistakes and Their Symptoms
Fans too close to inlets. Air enters and exits almost immediately. The symptom is strong airflow at the fan but stuffy conditions deeper in the workshop. The fix is to relocate the exhaust or add inlets on the opposite side.
All fans on a single wall. The near side gets over-ventilated while the far side stagnates. Distributing fans across two or more walls, or using a staggered arrangement, evens out coverage.
Insufficient inlet area. A negative pressure system is only as good as its makeup air. If doors and windows can't supply enough air, the fan runs against high resistance: airflow drops, motor load and noise rise, and louvers may flutter. Providing dedicated inlet louvers or operable openings sized to the exhaust airflow restores performance.
Ignoring structural and service requirements. Wall-mounted fans need adequate structural support, safe access for maintenance, and weather protection on the outdoor side. Louver and shutter components should be checked for free operation so they don't bind or rattle in service.
Neglecting noise and neighbor impact. Exhaust fans facing property lines or nearby offices can create noise complaints. Orienting discharge away from sensitive receivers and selecting low-noise models helps, and fan performance should be verified against GB/T 1236 test data and GB 19761 energy efficiency grades rather than catalog claims alone.
Commissioning Checks After Installation
Placement decisions should be validated on site. After installation, confirm that air actually moves along the intended path: use smoke or tissue tests at inlets and work zones, check that doors close with a slight resistance indicating negative pressure, and verify that louvers open fully when the fan runs. Measure airflow at representative points rather than relying on the fan's rated figure.
Also confirm that the system can be balanced seasonally. In summer, maximum exhaust supports cooling; in winter or mild weather, variable-speed control or partial fan operation avoids over-ventilating and wasting conditioned air. Controls that stage fans based on temperature or production schedule extend both comfort and equipment life.
Finally, document the layout: fan positions, inlet locations, and the intended airflow path. This makes future layout changes easier to evaluate — a new rack or partition can be checked against the original airflow design before it quietly turns a working system into a stuffy one.
FAQ
Q: Can negative pressure fans cool a workshop on their own?
A: Negative pressure fans remove hot air and bring in fresh outdoor air, which improves comfort by increasing air movement and reducing heat buildup. In hot climates or workshops with high internal heat loads, they are often paired with evaporative cooling or fresh air units to lower supply air temperature. The fan handles ventilation; cooling performance depends on the incoming air and the overall system design.
Q: How many negative pressure fans does a workshop need?
A: There is no universal number. The requirement depends on workshop volume, heat load, required air changes, and the effective inlet area. A ventilation calculation based on the intended air change rate and verified fan performance data is the reliable approach. Undersizing leaves hot zones; oversizing without adequate inlets simply wastes energy.
Q: Why do my fans seem weak even though they run normally?
A: The most common cause is restricted makeup air — insufficient inlet area or blocked openings. Other causes include short-circuiting from poor placement, obstructions in the airflow path, and dirty louvers or shutters. Check inlet openings and the airflow path before assuming the fan is at fault.
Q: Should fans be mounted high or low on the wall?
A: In most workshops, high mounting is preferred because hot air collects near the roof and is exhausted first, while cooler makeup air enters low and passes through the occupied zone. Low mounting may suit specific process exhaust needs, but it is less effective for general heat removal.
Summary
Negative pressure fans are a proven, energy-efficient way to ventilate and cool industrial workshops, but their performance depends on airflow organization, not just equipment quality. Exhaust on the downwind side, inlets on the opposite side, high exhaust and low inlet, source-adjacent placement, and adequate makeup air are the fundamentals that make a system work. If you're planning a workshop ventilation retrofit, XCFFJ's negative pressure fans and ventilation accessories can be specified alongside a layout review to help ensure the airflow path is designed before the equipment is mounted.